Podcast: Play in new window | Download ()
Subscribe: Apple Podcasts | Spotify | Amazon Music | RSS | More
The release of vSphere 5 has a lot of little gems. One of which is the availability of a SLES-based vCenter virtual appliance. So, while that is really cool, there is another little nugget of joy waiting for you in the vCenter virtual appliance (‘VCVA’ for all the hip kids)… specifically, your own little PXE booting environment. The oh-so-wise developers decided to include the requisite DHCP daemon and TFTP daemon. So nice of you VMware. Now, now only do you get a Linux-based vCenter, you also get the web client, a virtual appliance form, no requirement for SQL server, and a PXE environment. Really, how can you go wrong?
The PXE environment components included with the VCVA are not configured and turned off by default. So, if you’re ready to configure your VCVA for PXE, time to roll up your sleeves, crack those knuckles, and get ready to get your hands dirty.
Before we get started, though, and little caution (and disclaimer so I can sleep better at night):
I know nothing about your environment. You are following these instructions at your own risk. This setup will impact DHCP functionality on your network. Follow these instructions at your own risk and make the appropriate adjustments to work in your environment.
Additionally, I do not know everything about everything. So, you are going to need to rely upon your sleuthing abilities to help resolve issues that may arise.
These instructions assume some knowledge of CLI-based file editing (vi). So, please research how to use it if you are unsure.
Overview
A PXE environment via the VCVA requires the following components in your environment
- DHCP server
- TFTP server
- Web Server (for kickstart scripts)
- SYSLINUX (for pxeboot.0)
- Access to an ESXi 5.0 installation CD (perhaps you created on using my Image Builder tutorial)
- vCenter Virtual Appliance deployed
- Blank server to PXE boot and install ESXi 5.0 on (aka — the client)
- ESXi 5.0 installation .ISO
- HTTP server on the network (for hosting kickstart files — customization during installation)
For this exercise:
- Network: 192.168.226.0/24
- VCVA: 192.168.226.21
- DHCP Range: 192.168.226.200 — 254
- Default Gateway: 192.168.226.1
Configuration
0 — Log into the appliance as ‘root’
1 — Configure DHCP
‘dhcpd‘ will listen to IP address requests, provide an IP to use, direct the client to the “next-server” to continue PXE booting, and which file (filename) to download from the server.
- cd /var/lib/dhcp/etc
- cp -a dhcpd.conf dhcpd.conf.orig
- vi dhcpd.conf
Once inside of the file, ensure the following exists (highlighted for your ease of identification)
ddns-update-style ad-hoc;
allow booting;
allow bootp;#gPXE options
option space gpxe;
option gpxe-encap-opts code 175 = encapsulate gpxe;
option gpxe.bus-id code 177 = string;
class “pxeclients”{
match if substring(option vendor-class-identifier, 0, 9) = “PXEClient”;
next-server 192.168.226.21;
filename “pxelinux.0″;
}
subnet 192.168.226.0 netmask 255.255.255.0 {
range 192.168.226.200 192.168.226.254;
}
Save the file and exit (hint: :wq)
2 — Configure TFTP
TFTP services are provided by the ‘atftpd’ daemon
- cd /etc/sysconfig
- cp —a atftpd atftpd.orig
- vi atftpd
Once inside the file adjust the “ATFTP_OPTIONS” line to read: “—daemon —user root”. Typically, the atftpd daemon runs as ‘nobody’. However, the TFTP root (/tftpboot/) is configured as owned by the ‘root’ user.
Save and exit the file.
3 — Get the SYSLINUX packages on the server
There is one package missing to make the PXE installation process work: ‘pxelinux.0′. ‘pxelinux.0‘ is an executable that is downloaded by the client in order to properly continue the PXE process (aka — download the files, execute the installer, etc…). ‘pxelinux.0‘ is provided by the SYSLINUX package. In order for PXE to work properly with the ESXi 5.0 installation, SYSLINUX version 3.86 (or higher) is needed.
- cd /tmp
- wget http://www.kernel.org/pub/linux/utils/boot/syslinux/3.xx/syslinux-3.86.tar.gz
- gunzip syslinux-3.86.tar.gz
- tar xvf syslinux-3.86.tar
Note: you can use YUM or copy the files to the server another way if you’d like. Regardless, get the files there. This example will continue to use the /tmp file as the landing area for the SYSLINUX files.
Copy the pxelinux.0 file to your TFTP root
- cp /tmp/syslinux-3.86/core/pxelinux.0 /tftpboot
4 — Prep the TFTP root for PXE
The TFTP root configured on the VCVA is located at /tftpboot. We are going to need to get the directory structure built out to support PXE.
- cd /tftpboot
- mkdir esxi50
By adding a directory, we are able to organize the TFTP server and support additional versions of ESXi going forward.
5 — Get the ESXi 5.0 CD contents onto the server
Seeing as the VCVA is a virtual appliance, it is easy to get the contents of the installation media onto the server.
- Mount the installation CD to the VCVA as a CD-ROM drive using the vSphere Client.
- mount /dev/cdrom /media
- cp —a /media* /tftpboot/esxi50/
- umount /dev/cdrom
6 — Configure PXELINUX
pxelinux is the utility that enables the PXE functionality. As mentioned before, pxelinux.0 is an executable that the server downloads. The executable provides functionality to parse a menu system, load kernels, options, customizations, modules, etc…, and boot the server. Since PXE can be used by multiple physical servers for multiple images, we need to configure pxelinux for this specific image.
- cd /tftpboot
- mkdir pxelinux.cfg
- cd pxelinux.cfg
pxelinux.0 looks for configuration files in the TFTP:/pxelinux.cfg directory.
pxelinux looks for a large number of configuration files… specific to a default/generic value. This allows server administrators to define a file based on a complete MAC address, partial MAC address, or none at all to determine which image to boot from. Since this is the first configuration on the VCVA, we are going to configure a default. Do your research if you want to adjust this from the default value.
The installation media contains a file called isolinux.cfg. We can use this as the basis for our file called ‘default’. Copy it from the installation media and start customizations:
- cp —a /tftpboot/esxi50/isolinux.cfg default
- chmod a+w default
- vi default
- Ensure the appropriate lines match the following lines:
DEFAULT /esxi50/menu.c32
KERNEL /esxi50/mboot.cfg
APPEND -c /esxi50/boot.cfg
Save and Exit
7 — Configure the Kickstart file
Using a kickstart file, we can configure ESXi 5.0 automatically during installation. This requires that a file be placed on a server that is available to the client. Sadly, the HTTP areas on the VCVA are not readily available… and, they may be erased during future upgrades. So, we need to use an external HTTP server somewhere on your network. (Note: NFS and FTP are options as well).
Add the following contents:
# Accept the EULA
vmaccepteula#Set root password
rootpw supersecretpassword#Install on first local disk
install —firstdisk —overwritevmfs#Config initial network settings
network —bootproto=dhcp —device=vmnic0
In this example, we are saving the file to:
- HTTP Server: 192.168.226.1
- Directory: ks
- File: esxi50.txt
- URL: http://192.168.226.1/ks/esxi50.txt
8 — Configure the installation files
The CD installation media for ESXi 5.0 assumes a single installation point. Thus, all the files are placed at the root of the image. However, since we want to actually organize our installation root, we added the ‘/tftpboot/esxi50‘ directory and copied the files into it. We need to adjust the installation files in /tftpboot/esxi50 to reflect the change.
- cd /tftpboot/esxi50
- cp -a boot.cfg boot.cfg.orig
- vi boot.cfg
- Using the following picture as reference, add “/esxi50” to the paths for ‘kernel’ and ‘modules’
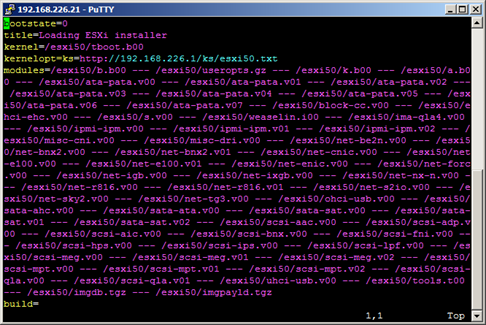
Save and quit
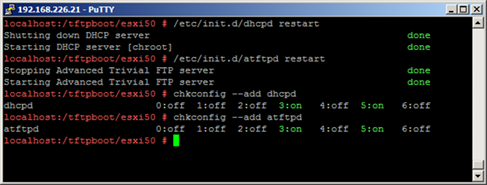
9 — Restart services to load the service configurations and configure to start with server
- /etc/init.d/dhcpd restart
- /etc/init.d/atftpd restart
- chkconfig —add dhcpd
- chkconfig —add atftpd
10 — Take a break
- You made it this far… great job. At this time, we have configured DHCP, TFTP, pxelinux, copied installation media to the TFTP root, and configured the installation for our organizational purposes.
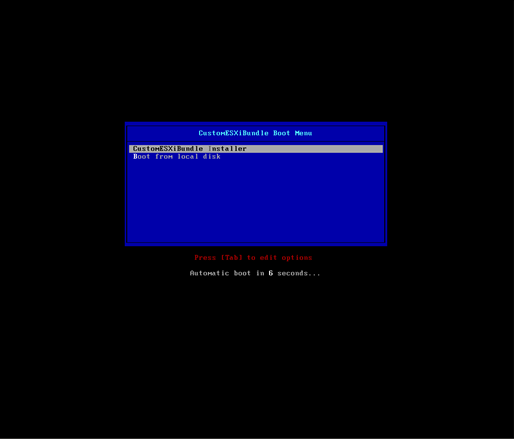
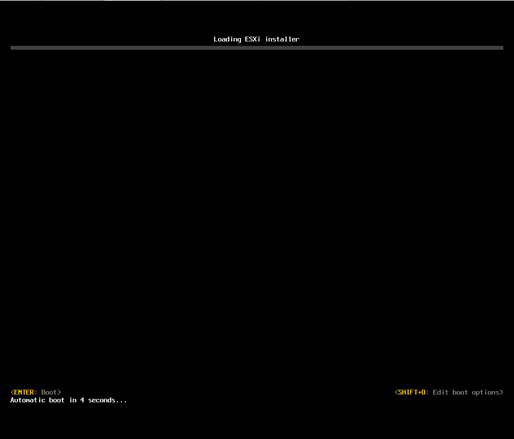
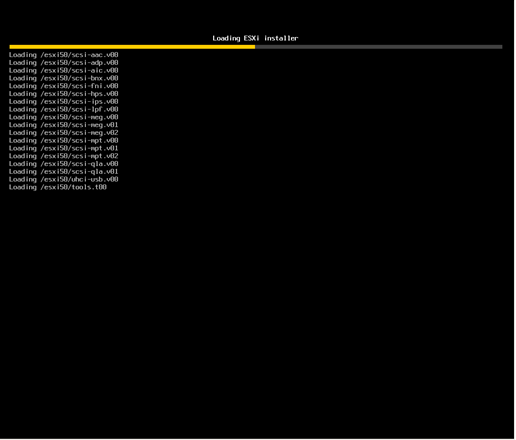
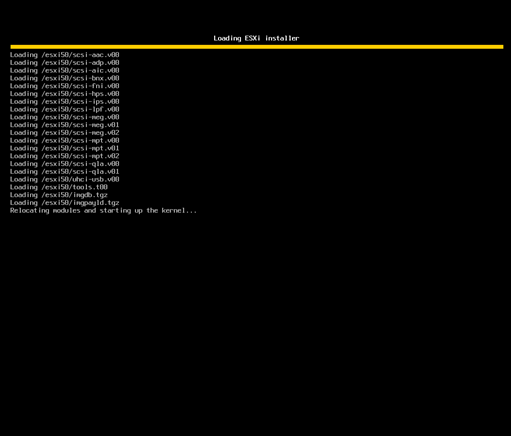
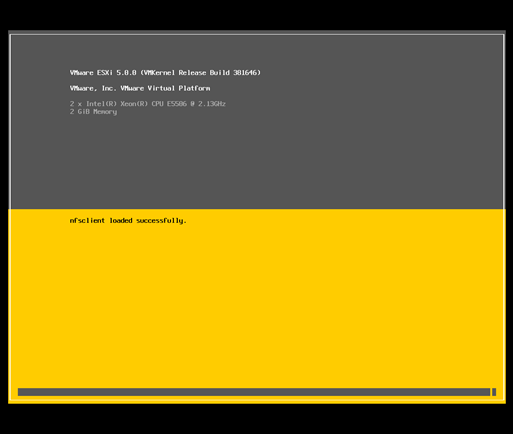
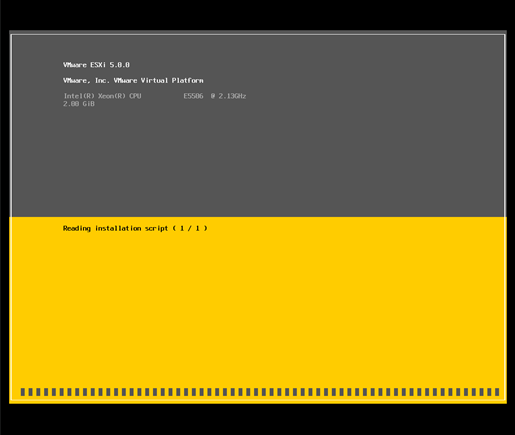
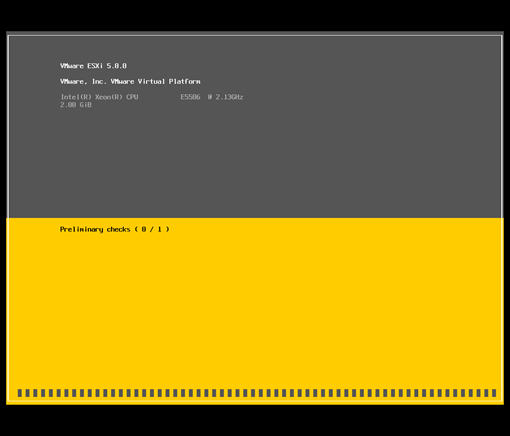
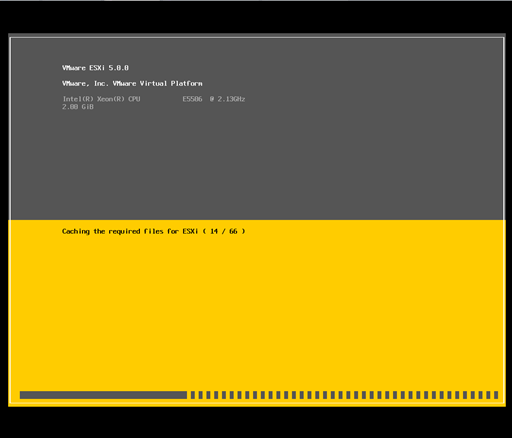
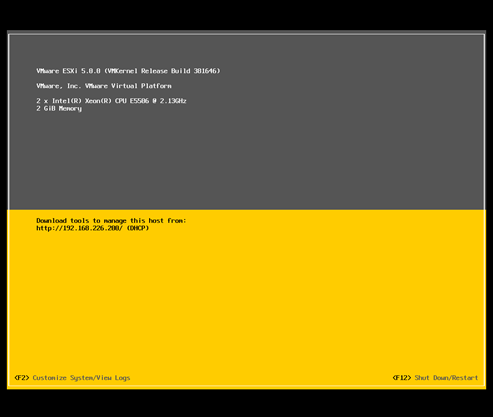
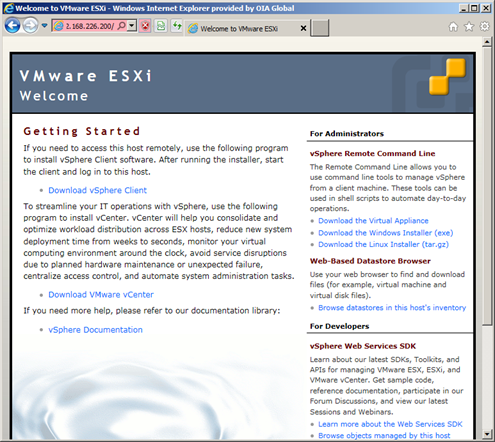
11 — Start your host and install away
[BELOW] Reading the Kickstart Script. No need to enter customization info anymore.
[BELOW] Checking contents of Kickstart file. You will see errors here if errors in file.




“Using the following picture as reference, add “/esxi50” to the paths for ‘kernel’ and ‘modules’”Instead of modifying all the locations manually just add a line
prefix=/esxi50/
that will save some typing!
I think at 6th step it should be kernel /esxi50/mboot.c32 instead of mboot.cfg