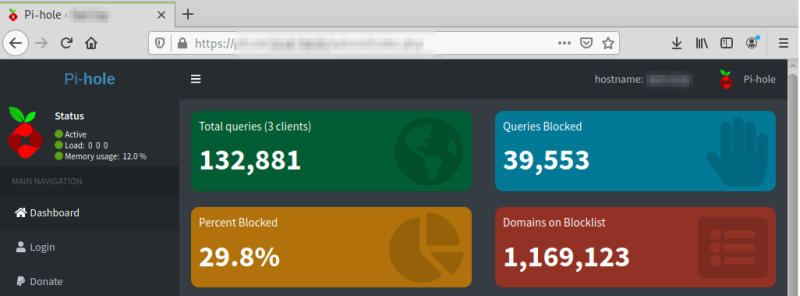
A network-wide ad blocker was the answer we all have been waiting for and in that, Pi-hole on Raspberry Pi was a gift of a technology. Most of you out there who keep updated with the networking world has already made acquaintance with it. For those of you who have not, the Pi-hole is an ad blocker released in 2015 that is installed to a Raspberry Pi to instantly block all ads to a chosen IP address, and this can be your computer, your tablet, your smartphone, your smartwatch, your smartTV or all of them at the same time. It covers for all IoT devices that are connected to the Internet.

Image credit: Thierolf
The Pi-hole works as a DNS server on any client device that uses the Raspberry Pi OS. With it installed in your network, you don’t require to use the regular pop-up ad blockers which often work fine on computers but not so much on most hand-held and IoT devices. What’s more, it even filters out malware coming in from certain hosts.
Setting up the Pi-hole is real easy and with an instructive tutorial at hand, it’s only a matter of minutes. Johannes Weber offers a detailed and instructive post on how to install the Pi-hole in your network in a few easy steps. On his Pi-hole Installation Guide, Weber writes:
Yes, there are already some setup tutorials for the Pi-hole out there. However, it’s not only about installing the mere Pi-hole, but setting it up with your own recursive DNS server (since the default installation forwards to public DNS servers), using DNSSEC, and adding some more adlists. That’s why I am listing my installation procedure here as well.
Read the rest of Weber’s guide on his blog, Weberblog.net.


